Art can be bad for your health

Research into the effects of "art" on artists has been fairly sparse. Very often, studies into health issues concerning industrial painters and craftsmen have been the most useful sources of relevant information. Being largely self-employed rather than a cohesive group with its own representation, artists have had their health issues overlooked.

Many artists don't question their favorite methods and materials and if no one is checking up on their behalf or enforcing good health and safety practices, they are often quite happy to carry on regardless. It is perhaps only when a physical symptom is personally experienced that an artist stops to consider whether his or her working practices and workplace may be responsible.

"Artists are a very strange breed of people," Rickard says. "They tend to be quite anti-establishment, anti-authority. If the rules say do this, they'll do the opposite quite deliberately."

Or perhaps artists feel that "it's a risk you're willing to take because you're excited by the materials and their potential," Barazani says. Or maybe "these artists are not casual with the materials they're working with because they feel they know them so well that they don't have to worry about them," Conibear says, "but rather they're mostly just ignorant and just haven't thought of it in that context."

The most compelling explanation may be a combination of a dangerous attitude and ignorance of dire consequences.

"The self-employed artist may be socialized to be above such mundane concerns. They're thinking on a higher plane. They're creators," says Fuortes. "But once someone has health problems, they're extremely attentive."

Read the entire article here.

Monday, August 6, 2012

Surrender to Healing - a Personal Detox Story


In my search for optional material to use for making art, I wanted to find out what other artists had experienced, and what solutions they had found. I knew Shayla Perreault Newcomb had experienced some ill health effects from art materials. I also knew she had found her way back to a place where she could paint without adverse effects on her health. So, being of inquiring mind, I asked Shayla if she would enlighten us all.

Here is part one of a two part interview with Shayla about her experience. 

"Desire Turns Concrete" 16x20" oil on canvas © Shayla Perreault Newcomb


Shayla, how did you determine that your art materials were a problem for you? What materials were you using that you now know were causing a problem?

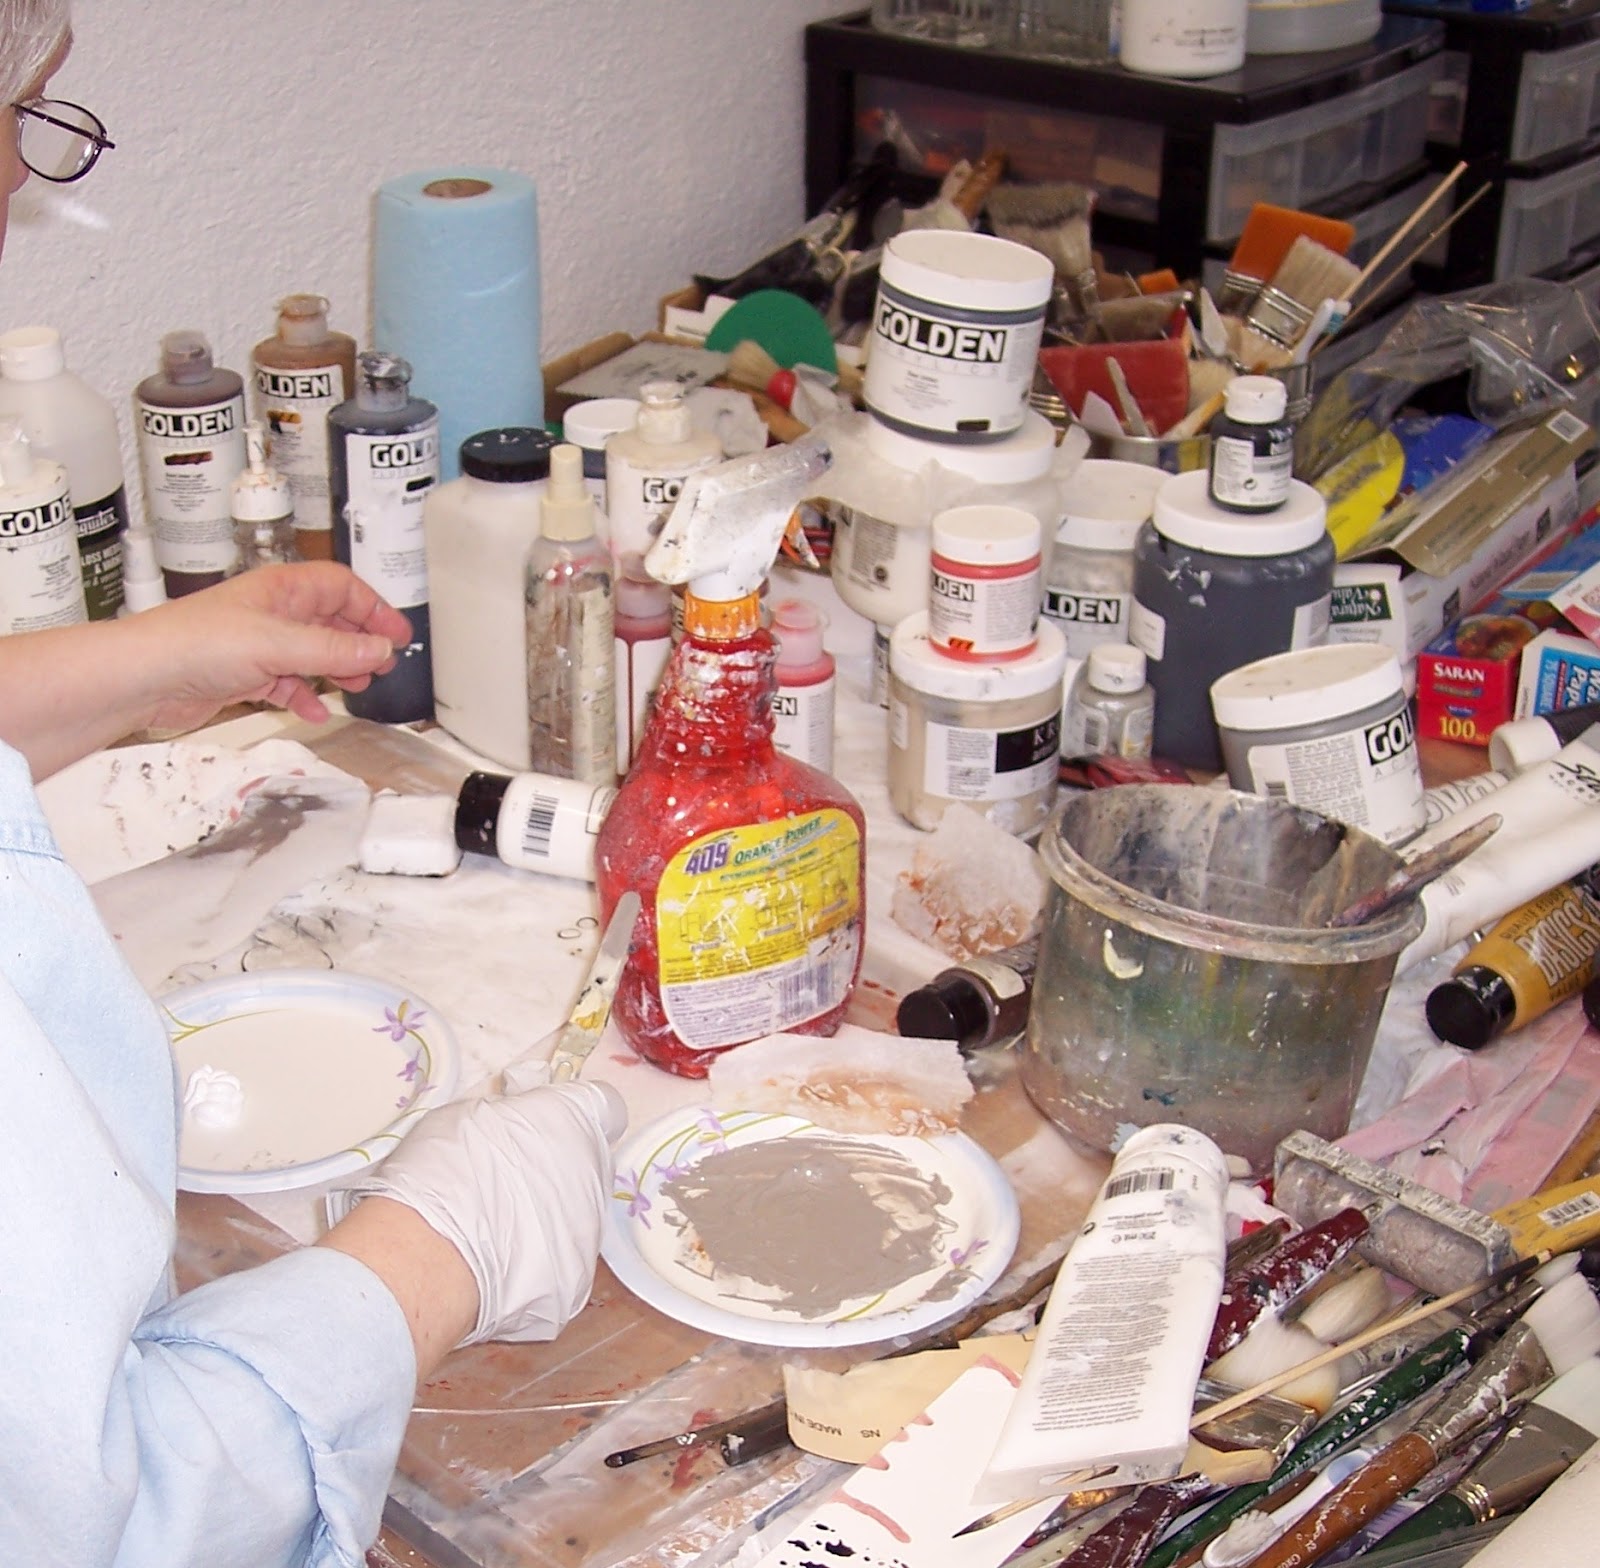
I was an art supply junkie and loved the endless supplies and experiments in the mixed media world. Using resins, like Utee, heat guns, alcohol inks, embossing powders, glues, acylics and acrylic mediums and trying out anything new gave my creative practice a rush. The landlord bought us cheap paint from Walmart for my studio walls and that had a nasty impact too.

I wasn’t aware for a long time. I’ve a history of being hard on my body so even though there had been warnings like stomachaches, nausea, headaches, chest pains, sore throats and crankiness after experimenting with mixed media and acrylics, it wasn’t until  those symptoms intensified and were combined with a fatigue so great that I ended up weak, bed ridden, needing help to get up to the washroom, and at the worst of it only awake for
about 1 hour in 24.   My body was so badly in need of healing and detox
that even a pencil set me off once. I surrendered to healing at that point and took it as a cue to take a break from art. The fact that I fought it for so long made it worse.


When you first found out you had to switch materials, what process did you follow to find out what might be a better media for you to use?

After lots of TLC and healing, it was discovery time. I asked around on forums, searched the internet and even made it into the local art supply store and asked the artists there. It ends up being a personal journey because everyone’s body reacts differently. There are some materials that generally don’t cause reactions. Food grade materials, spices like tumeric, natural food coloring (like beets), egg tempera paint, conte crayons, some brands of children’s tempera paint. I would go slowly and not introduce more than one element every few weeks.  I researched ingredients, found all that formerly boring studio safety stuff to be fascinating reading, found that “non-toxic” is loosely defined, doesn’t necessarily mean “safe” and that I needed to be the one to decide that not a manufacturer.  The whole time I made sure my body was well rested to avoid a major setback

The most surprising part of my process was realizing that the whole time I’d had to stop painting, hadn’t been “unproductive.” Even while I thought I wasn’t working, part of me was gathering ideas. Once I got started again, my art blossomed into a whole new level and was stronger than before. It was at this point, that I started getting a lot more recognition as an artist.

Did you ever feel lost or worried that you would not be able to continue your calling as an artist? How did you support yourself in the process of letting go and finding a new path?

Yes, I did get lost and since I used to be a black and white kind of person, the thought of suicide crossed my mind. It never developed into a plan, but it was an unhealthy way to view my situation. I think I saw art as my purpose for living, my identity and was not grateful for even the incredible blessing of breath, the pleasure of breathing. I started a daily gratitude journal. I supported myself with green juices that tasted like life and sunshine, by sitting in nature in the sun with Jennifer Louden’s, “The Woman’s Retreat Book: A Guide to Restoring, Rediscovering, and Reawakening Your True Self — in a Moment, an Hour, a Day, or a Weekend  and investing any new energy into something that would increase my energy like gentle stretches. I’d always been inspired by stories of people pushing past limitations, like the amazing Frida, but unlike her story, I had the opportunity to heal and now was the time to listen to my boundaries. Thinking about other artists’ experiences with illness such as Matisse, and my friend Elaine Amyot and how they were able to find creative solutions to work within their limitations was the mindset I needed to find my path.

You can find Shayla’s blog here, called Shayla’s Art Diary. Shayla describes herself with the statement

I believe in freedom, imagination, and living a divine and expanding life with joy. My artistic style is 'meditative.' The rhythm of the three shapes prompts us to pause. I found out afterwards that this was also used by the ancient Greeks in a similar way to express what they call  'Kairos' or unmeasured time. When in 'Kairos' time, we're free of the daily rush and time stands still. 

Thank you Shayla! This is the end of Part One. Part Two will be published here next weekend. 

Saturday, June 30, 2012

Mark Making with Conte Crayons

 The above conte crayons are from amazon.com

According to wiseGEEK 

Conté crayons were developed in the 18th century by Nicolar-Jacques Conte, a French scientist, in response to graphite shortages. He set out to design a pencil which could be made with a small percentage of graphite, allowing it to be fabricated from materials obtained within France. The result was a mixture of clay and graphite which was kiln fired to achieve a hard texture.


Conte crayons from Daniel Smith 
The design of Conté crayons is sometimes compared to pastels. Both are sticks of solid pigment which are applied directly to the paper. However, Conté crayons are much harder than pastels or charcoals, yielding crisp, tight lines, rather than the more smudged look familiar to pastel users. Using Conté crayons, an artist can achieve subtle variations of shading in clear, distinct drawings. Also like pastels and charcoals, Conté crayons can stain the fingers, and art produced with them is usually treated to prevent the pigment from rubbing off.


 I have been gifted a lot of markers from a friend whose mom was a mid-century abstract painter. Lucky me! I have a nice supply of conte crayons for mark making.

Next I will spray the marks I have made with fixative. 

This is necessary as the crayon will smear. 


I spray outside, respirator on, with the collage to be sprayed in a card board box. 


Air-purifying respirators clean the air you breathe. Air-purifying respirators are disposable or rubber or rubber-like masks. One may cover your whole face or part of your face. Each mask has 1 or 2 filters or cartridges that get changed. 
You must have the right filter or cartridge for each hazard. 

In the past I have used a Grumbacher product called Workable Fixative Spray. I have no complaints about it. The MSDS sheet here, which is pretty intense. This is NOT a green product. 

DANGER: EXTREMELY FLAMMABLE. VAPOR
HARMFUL. EYE IRRITANT.
CONTAINS: ACETONE
PRECAUTIONS: Do not smoke when using. Keep away from
eyes. Avoid contact with heat, sparks and open flames.
Vapors can ignite explosively. If using indoors turn off all
pilots lights. Do not store or use near heat or flame. Use
only with adequate ventilation.
KEEP OUT OF REACH OF CHILDREN.
FIRST AID TREATMENT: If eye contact occurs, rinse with tap
water for 5-10 minutes. If irritation persists, seek medical
care. If inhalation symptoms occur, move to fresh air. If
symptoms persist, see a physician.
For further health information, contact a poison control
center or call 1-800-222-1222.

When I went to purchase a new can, the product my local store carried was by Blair. It is called a "Very Low Odor Spray Fix" described as a workable matte fixative spray for drawings - stops smudging.  I did not find a MSDS sheet for this product, however the warnings are detailed and take up half the label on the can and say things like DANGER!..."chemcials know to the state of California..."

Suffice to say, I will use this only outdoors, with respirator on. I will also let the work off gas outside.

 I wish I knew of an option for fixing charcoal and conte crayon and pastels.

In my search for "greener" materials, it appears that mark making with conte crayons and charcoal may not be satisfactory as far as exposure to chemicals goes. All I can do is protect myself from the chemicals as they are sprayed and continue to look for better ways to mark make, ones that do not require fixatives.

Or, I could take up knitting....


Sunday, June 24, 2012

An On-going Search for the Perfect Adhesive


In the beginnings of my search for safer art supplies, I am using things I already have to make small collage, up to about 12 by 12 inches. This means papers already altered with acrylic (quite dry and probably not off gassing, so I assume.) I am also revisiting water color and working on small collage mounted on water color/print making paper.

I have a large supply of art materials and I can only imagine that it will take some time to look into all of them to see what can be found out. You are welcome to join me on my journey. 

Please remember I am only a consumer and an artist, trying my best to continue to make art and feel better! It has become very clear to me that using acrylics has made me ill. I hope I can return to using them, but at this point I just don't know. I know they don’t bother many people so I consider myself a canary in the coal mine so to speak. 


Glue Sticks

I have often used glue sticks for small collage which incorporates delicate tissue papers, washi papers and some found papers such as book pages. I use these in our house, where I never use things like acrylic. And all in all I am pretty pleased with them. They don’t smell. They work well. I don’t get a headache from using them. They don’t last long, so I tend to buy them in quantities at a discount retail outlet like Costco. I also hope to get them in my Christmas Stocking, which I often do.

I have used Elmer’s Extra Strength which claims to “go on smooth, acid free, photo safe and non-toxic.”

Elmer’s claims:

  • Washable
  • Acid-Free
  • Photo Safe
  • Goes on Smooth
  • Safe, Non-Toxic
  • Dries Clear
  • Dries Fast
  • Adjustable Before Setting

The glue stick that seems most appropriate is Elmer’s CraftBond Extra Strength Glue Stick.

The crafter’s choice for an extra strong glue stick bond. This acid free glue stick goes on blue for easy application but dries clear. Recommended for: Photos, Paper Crafting, Art Projects, Scrapbooking, Memorabilia, and Vellum.

From the Frequently asked questions on Elmer's website:


How is glue made?

Elmer's Glues are chemical based. They are made or formulated from chemicals which are synthesized (created by Man). These chemicals were originally obtained or manufactured from petroleum, natural gas and other raw materials found in Nature. The exact formula and specific ingredients used in making Elmer's products are considered proprietary information, therefore, we cannot share those with you.

Doesn't that sound like a cozy relationship between Man and Nature going on over at Elmer's? Sounds Natural, doesn't it? Well, if it's petroleum based, it must off gas.  

I would prefer some straight forward answers, not capitalized buzz words like "Man, Nature and Natural."


In order to find out more I went to the Material Safety Data Sheet. You can find that here

Since this glue is a synthetic polymer mixture, its plastic. Like acrylics.


Scotch has a glue stick they call wrinkle free. They state it is non-toxic. I got it at my local art store. It goes on a bit gummy I think. (Maybe the one I have is old?) I prefer the Scotch glue stick labeled “permanent”. On this glue stick it claims to be “Non-Toxic as defined in the FHSA."

Scotch also has a purple glue stick that I have liked very much. Of that glue stick they say 

A clean, easy-to-use permanent adhesive that goes on purple and dries clear. Purple color makes it easy to see where applied. Sticks to paper, cardboard and fabric. Non-toxic and washable.”

I could not get to the Material Safety Data Sheet for this glue. I will have to call the company. They are on line, but the product code is so small on the package, I can not read it. In that very small print I did read the product is made in Mexico.

 
Now take a look at the safety messages the manufactures have placed on the labels or their web sites.


First off, FHSA stands for Federal Hazardous Substances Act, undoubtedly this is a USA standard. I found a discussion of what this means at a consumer report Greener Choices web site. (I don’t know this organization. I will have to research that too!)

This is what they had to say, in part:

“Toxic” is defined by the Federal Hazardous Substances Act, which regulates hazardous household products. A product is toxic if it can produce personal injury or illness to humans when it is inhaled, swallowed, or absorbed through the skin. 

In addition, a product is toxic if it can cause long term chronic effects like cancer birth defects, or neurotoxicity (adverse effects on the nervous system). The Consumer Product Safety Commission (CPSC) is the federal agency responsible for administering the Federal Hazardous Substances Act. 

While neither the Act nor the CPSC define non-toxic, some manufacturers might assume that a product or chemical is non- toxic if it does not meet the definition of toxic under the Federal Hazardous Substances Act.


WHO VERIFIES THIS GENERAL CLAIM?

There is no organization that verifies the use of “non-toxic” other than the company manufacturing or marketing the product. While CPSC requires some products to display hazard labeling, it conducts no oversight or enforcement of the use of the term "non-toxic."  
 
CONSUMERS UNION EVALUATION:

How meaningful is the label?

“Non-toxic” is not meaningful and can be misleading. There is no definition or standard used for judging whether a consumer product or its ingredients are “non-toxic,” and no assurance that such a claim has been independently verified. A product that does not meet the definition of “toxic” according to the Consumer Product Safety Commission should not necessarily be considered non-toxic.

I learned further that a label can claim to be non-toxic and still have to have the California warning.

Moreover, a consumer could see both a "non-toxic" label and a "This product contains a chemical known to the State of California to cause cancer" label on the same product since the threshold for what CPSC considers to be toxic is lower than that for the State of California.


Please go here to read the entire article. What an eye opener! 

Its going to take a lot of time to look at all the materials I have in my studio. And of course, I would rather be making art. 

On the lighter side I hope for this blog to be a mix of healthy ways to de-tox, interviews with other artists and the answers they have found that work for them. 

Also please note that as I find resources I am posting links on the side bar of this blog. If you have any recommendations to make I am all ears!

As I have begun this journey I am hearing from individual artists about the steps they have taken or will be taking to make their own art practice. This seems a worth while endeavor.

Friday, June 22, 2012

Paint Storage Tips


This isn't pretty, but this is where and how I have been mixing my paints colors. I might leave a jar open for most of the day. I did work directly from the container.  I certainly didn't worry about contamination of my paints. I didn't give much thought to paint storage. I was thinking about my work!  

A note- the orange spray bottle has not had a cleaner in it for years. It is filled with water. I find it has a great nozzle for spraying water when I need to do so. That being said, I no longer use any cleaners like this either. I have switched to plant based cleaners that are gentle.

Today I found this article about paint storage. I have never had a paint mold. But I do think working around all those open containers was allowing a lot of VOCs (Volatile Organic Compounds) to contaminate the indoor air quality of my working space. Its something to think about.


Paint products can become contaminated with bacteria or mold, which can lead to a strong, offensive and in some cases, sickening odor. Paints such as poster paints and temperas that are intended for classroom use, and for children, often contain an organic binder that is subject to degradation if not stored properly, or used within a reasonable period of time. 

To guard against bacteria and mold, manufacturers of paint products add preservatives to these products. Diluting the product will decrease the effectiveness of preservatives. Below are some tips on storing paint products to maximize their shelf life:
  • Store the product in its original container in a cool, dry place and prevent freezing.
  • Date and rotate inventory, always using the oldest stock first.
  • Thoroughly shake the product before using.
  • Remove only enough paint for immediate use. Never return unused portions to the original container.
  • Never dilute the product. The addition of water dilutes the preservative's strength as well as the paint. If diluting paint to simulate watercolor techniques, prepare only enough for immediate use.
  • Avoid working directly from the original product container. Do not place brushes, hands, or other objects in the container.
  • After each use, make sure the cap is returned tightly and that the product is sealed before storing.
All paints are subject to eventual spoilage once opened and exposed to air and other contaminants. Most spoilage is a result of cross-contamination from common sources such as air, water, people, brushes and other utensils. Proper storage and usage will reduce potential sources of contamination and extend the life of your paint.

Toxin Fighter Cocktail


One step at a time.

Today my focus was on elimination of toxins already in my body. My health care provider recommended several actions to take including increasing the body’s natural sweat. Movement does this and increasing water intake helps a great deal. As we speak I am sipping water. Here is another option.

Looking through my favorite cook book, refresh, (by Ruth Tal) I turned to the chapter on vegetable cocktails. Urika ! There is was, a nice hot, peppery sweat tonic.


Ingredients

½ inch ginger root
1 clove garlic
1 handful spinach (I used kale)
1 lemon, peeled
3 stalks celery
3 medium carrots
1 shake cayenne pepper

Juice the ginger and garlic first, followed by the spinach/kale, lemon and celery. Finish with the carrots.

Heat gently in a saucepan and add the cayenne. One is cautioned to remove the pan from the heat once the juice is nice and warm, but well before it comes to a boil. 


It works! Not only is this surprisingly delicious, the warmth factor stimulates the targeted route of elimination.

Enjoy!